Dolls on a Dime
  • Home
  • Meet the Dolls
  • Photo Gallery
    • Mini Dolls
    • Seasonal/ Holidays
    • Transformations and Rescues

Minute Makeover: Heart Trimmed Dress

2/14/2015

0 Comments

 
Picture
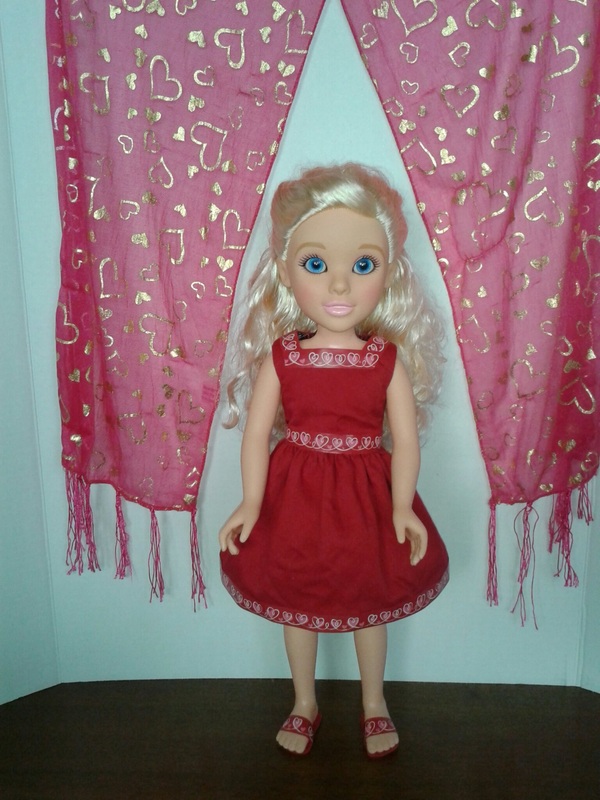
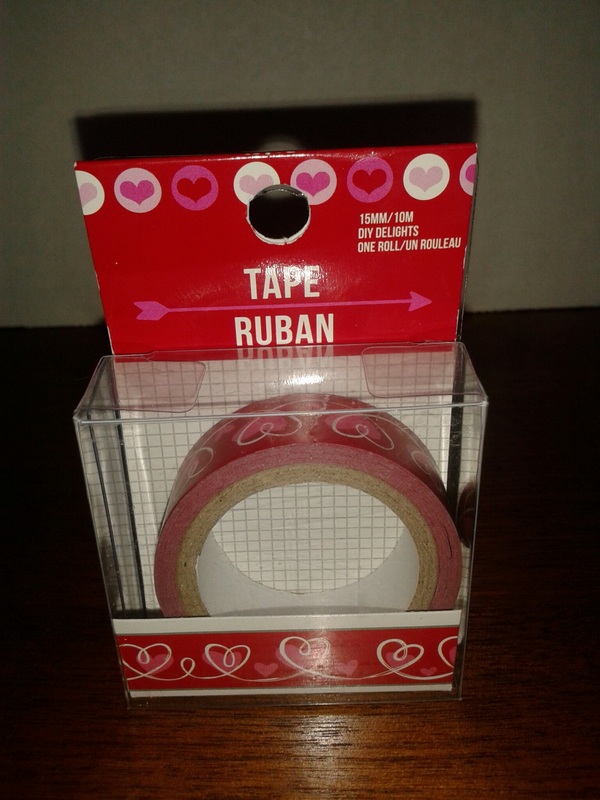
After looking at my sister's amazing Valentine's projects,  I was feeling rather creatively deficient,  so I decided to challenge myself to come up with a quick and easy Valentine's Day doll idea. All I used was a plain red dress, some decorative tape from the dollar store, and some scraps of craft foam. I just lined the collar and bottom of the dress with the tape and then made some simple matching sandals. Voila! it's a great temporary embellishment to turn an every day dress into something special.
Picture
Picture
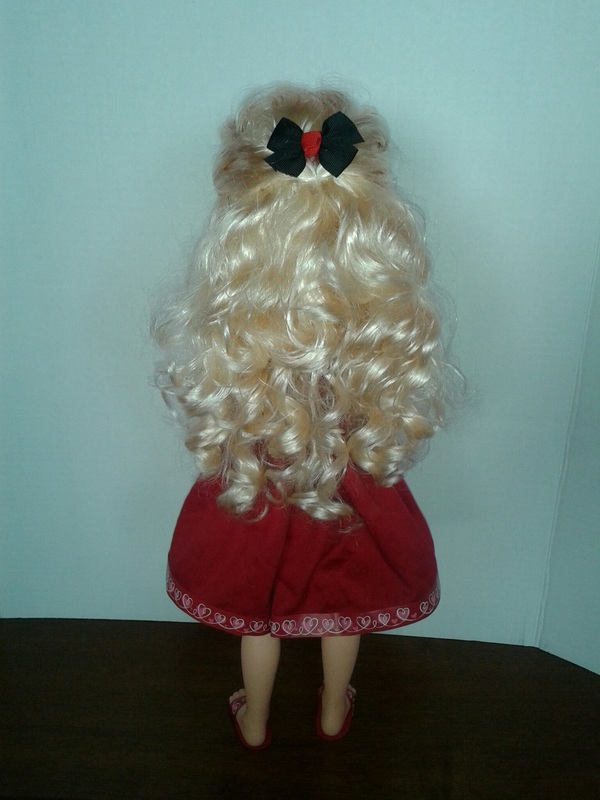
Here's a view of the back of the dress and her simple hair style. This doll is Cinderella from Disney Princess and Me. I think she looks adorable in this casual modern ensemble.
You can find lots of fun patterned tape just about anywhere and for any season. This plain red dress would work great for Christmas or Independence Day too,  and the tape is easy to remove without leaving residue on fabric. Go see what you can create!
0 Comments

Caped Crusader

10/20/2014

0 Comments

 
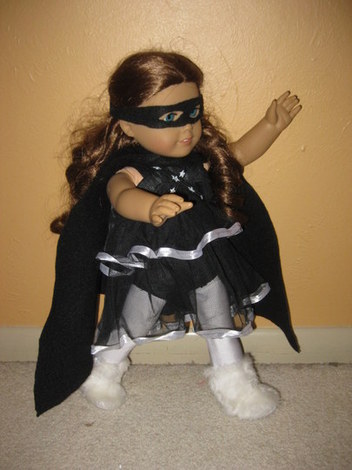
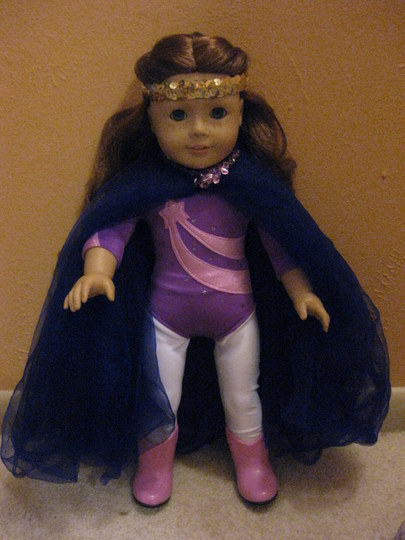
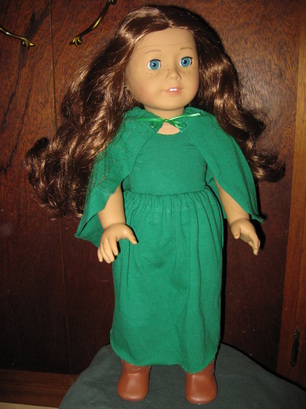
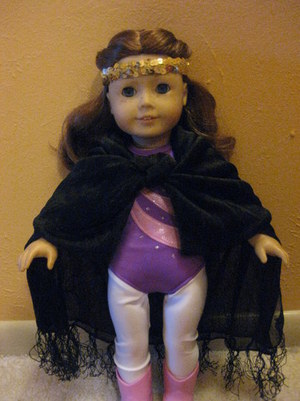
Halloween is just around the corner, so I want to squeeze in some last minute Dolloween ideas for you. One of the easiest ways to create a quick costume (for dolls or people) is to put together an easy cape. Let's face it, we've been tying towels and blankets around our necks for ages. Here are some quick, easy (no sew!), and inexpensive cape ideas for your dollies:
Picture
1. Felt: Use any color you want to cut a simple cape shape. I left two longer pieces at the top to tie it around the doll's neck.
Picture
2. Dress-up Skirt: I kept the waistline folded and just pinned the two corners together at the doll's neck.
Picture
3. T-Shirt: This whole outfit was made from one t-shirt. For the cape, I cut a piece from the back and used the hemline for a casing to thread the ribbon through.
Picture
4. Scarf: For this look, I just folded a sheer scarf in half so the fringe was at the bottom. Then I tied a not in the front.
Photo Details:
The purple leotard and white leggings are from Walmart. The pink boots are from K-Mart and the white boots are from Springfield. The black super-hero outfit is made from a sock and a dollar-store tutu skirt. The gold headband is a piece of sequin elastic. 

0 Comments

Boy Room: Finishing Touches

9/5/2014

0 Comments

 
Picture

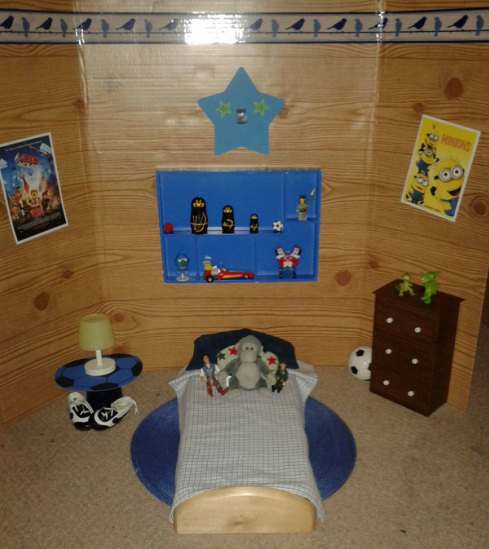
Here is my completed bedroom for my boy doll, Emmett. The back-drop is just a 
presentation board from the dollar store. I covered it with wood-grain contact paper
and decorative tape for a border. Let's take a look at some of the finishing touches. 
Picture
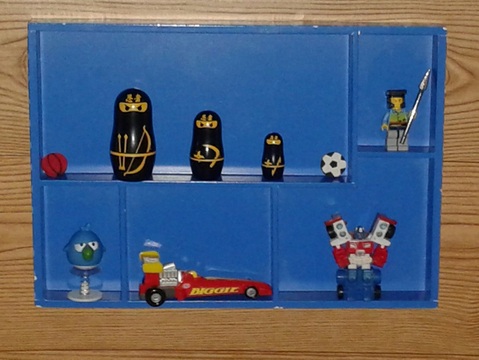
This trinket shelf is my favorite part of the room. I used the box from a wooden magnet 
toy and affixed it to the wall with sturdy tape. It is strong enough to hold, but it can still be
removed to change the look. The decorations include sports erasers, a Lego mini-fig,
three ninja nesting dolls, a small car, some kind of springy bird toy (not sure where that
came from), and a small transformer. 
Picture
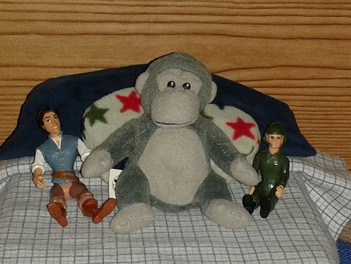
A mini stiffed animal and small action figures add character to the bed.
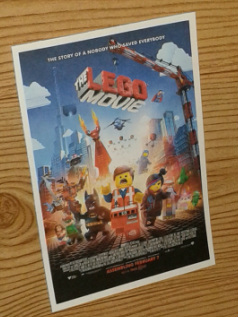
I printed doll-sized movie posters to dress up the walls. The star wall hanging is a craft foam shape. I just added a letter "E" sticker and a couple of smaller star stickers.
Picture
0 Comments

Wooden Dresser

9/3/2014

0 Comments

 
Picture
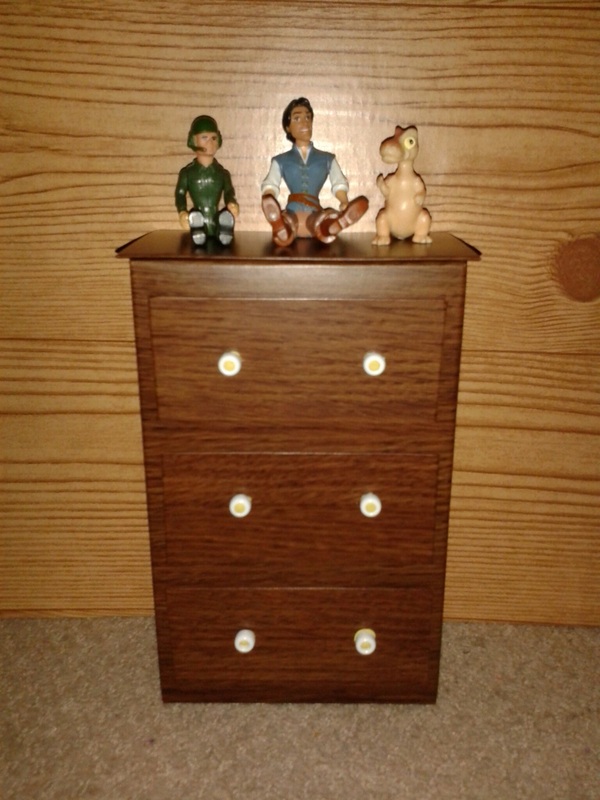
I love doll pieces that are functional as well as decorative, so I wanted to make a dresser that can really be used for storage (but without the hassle of real drawers that pull out). This dresser has a flip-top that opens to store items inside the box. I also found a great tutorial from My Froggy Stuff for making a dresser with a hole in the back to stash stuff inside. I made the drawers look more 3-D by wrapping pieces of cardboard in contact paper rather than using flat scrapbook paper. 

Materials:
  • 1 cardboard box the size you want your dresser to be
  • 1 extra box or pieces of thin cardboard
  • 1 roll of wood-grain contact paper (or sheets of scrapbook paper)
  • Strong double-sided adhesive or glue gun
  • Craft beads
  • Thin magnets (I got mine from a phone book!)
Instructions:
  1. Cut a large piece of contact paper and wrap the box like a present. (I left mine open at the top and then cut the contact paper to fold over the flaps so they could still open.)
  2. Cut a cardboard rectangle slightly larger than the top of the dresser. Wrap it in contact paper and firmly attach it to one of the top flaps. Attach a thin magnet to the underside of the dresser top and another to the opposite box flap to hold the dresser closed.
  3. Cut out cardboard rectangles the size you want the drawers to be. 
  4. Cover each drawer in contact paper and firmly attach to the front of the dresser.
  5. Attach beads to the front for drawer handles. (I used sticky tack to put the beads on so they can easily be changed for different styles. Be sure to glue securely if your dresser will be used around small children, though.)
  6. Cover the top of the dresser with a small piece of fabric and knick-knacks  to suit your doll.

* For an easier variation (which I discovered after completing mine, of course) is to cover both ends of the box and glue the top down all the way, Then just cut a small hole in the back to access the inside of the box for storage. 
0 Comments

Basic Bed

9/3/2014

0 Comments

 
Picture
Before
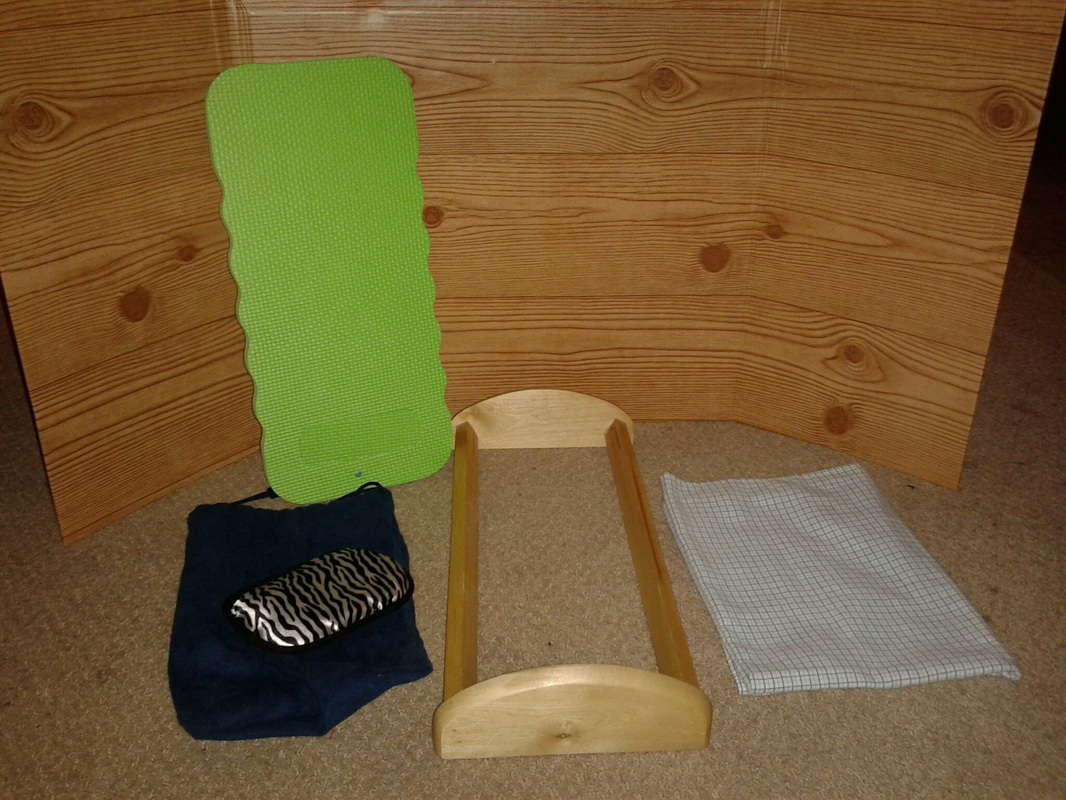
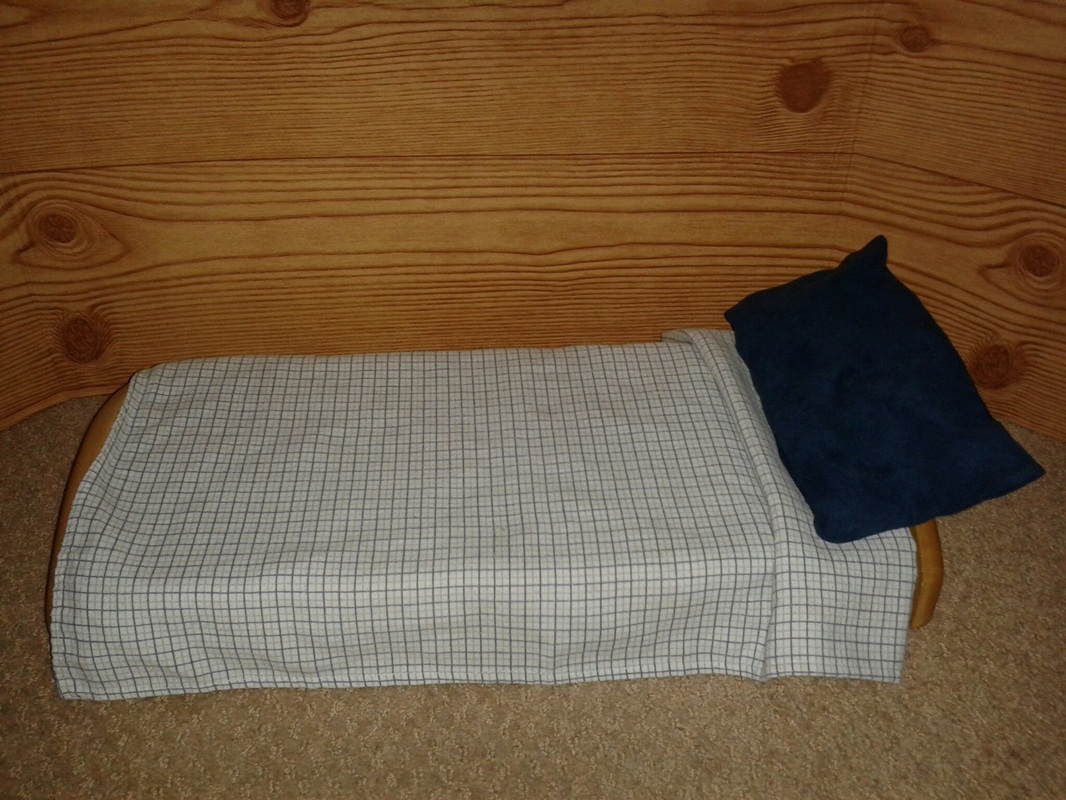
Doll beds can be so expensive, but with a little imagination, you can easily find things around the house to make your own. This wooden frame was used to hold glass canisters in my kitchen. It even has a built-in headboard and foot-board. For the mattress, I used a foam knee board for gardening (from the dollar store). Then I wrapped it in fabric and placed it on top of the frame. I folded a small flannel receiving blanket in half for the top. For the pillow, I used a cloth bag and a mini pillow from a doll pet set. I just put the pillow into the bag and then folded the end of the bag back into itself until it made a nice rectangle. 
Picture
After
0 Comments

Speedy Sports Table

9/3/2014

0 Comments

 
Picture
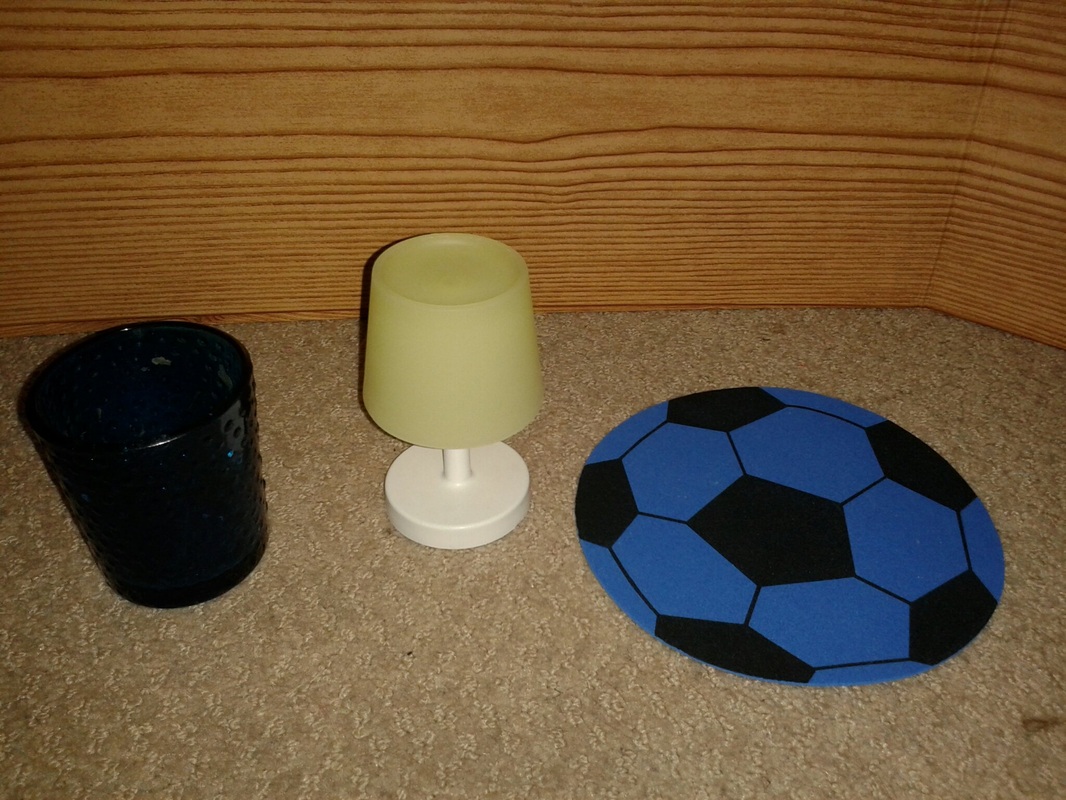
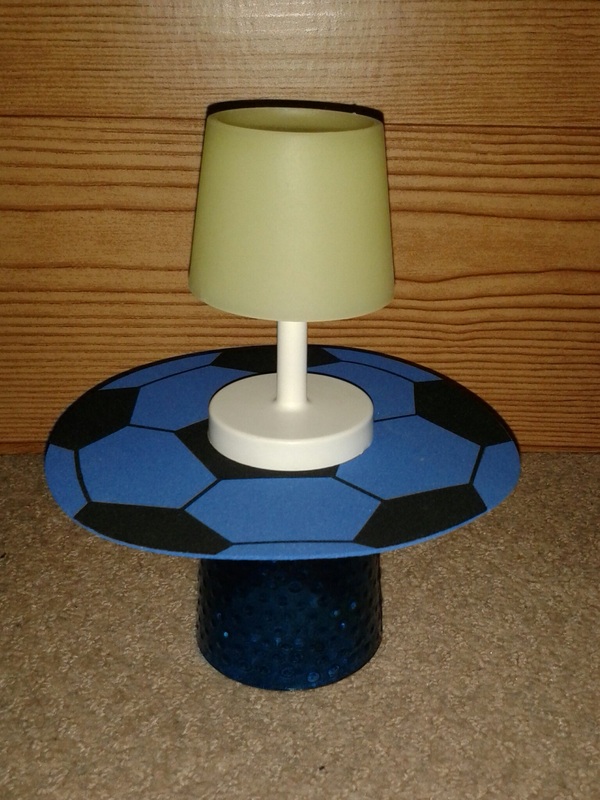
A bedside table is one of the easiest pieces of doll furniture to make. Just take a candle holder or cup and flip it over. Then tape your foam circle onto the flat surface. To make it more sturdy, layer several foam circles or attach the foam to a circle of cardboard first. Try different shapes like stars, hearts, or cars, I decorated my table with this cute glow-in-the-dark mini lamp, also from the dollar store.
Picture
After
0 Comments

Mini Miss Liberty Pageant

7/3/2014

0 Comments

 
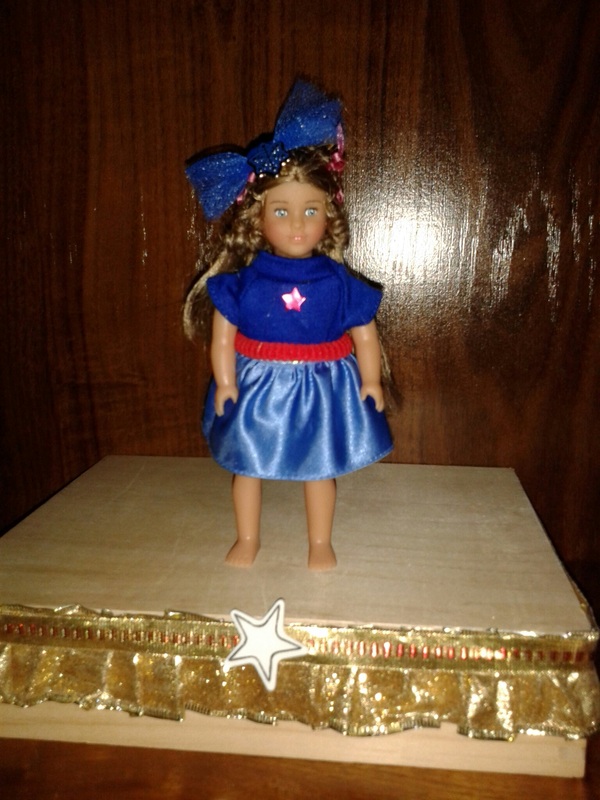
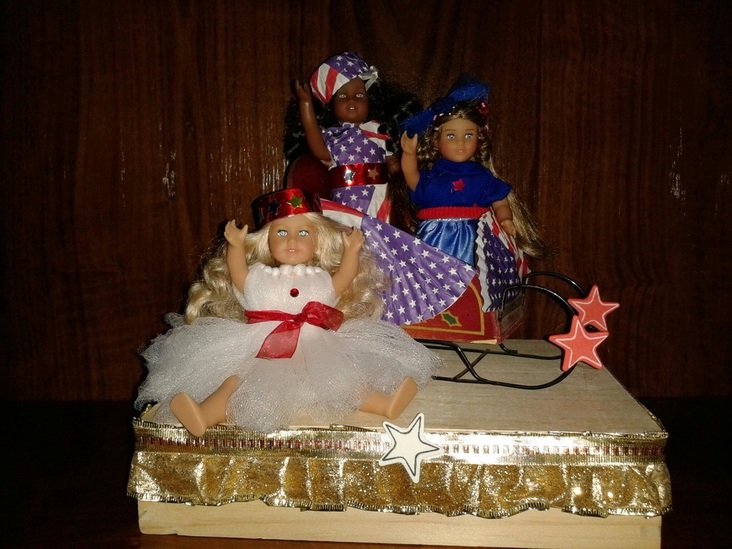
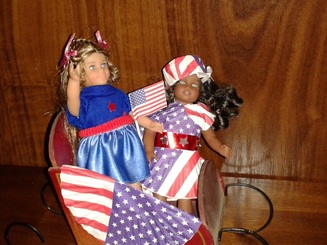
The mini dolls were excited to join in the Mini Miss Liberty Pageant this year. The winners get to ride on a special float in the parade.
Picture
Marie-Grace: 2nd Attendant
Picture
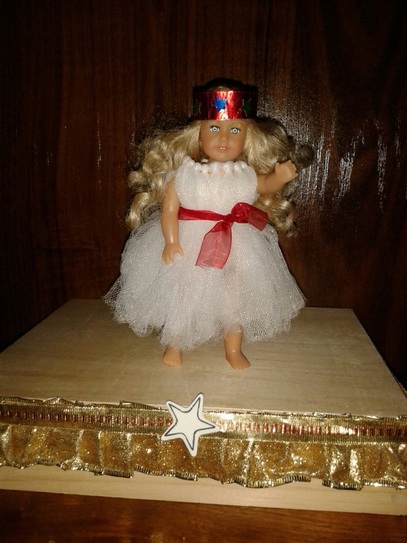
Caroline: 1st Attendant
Picture
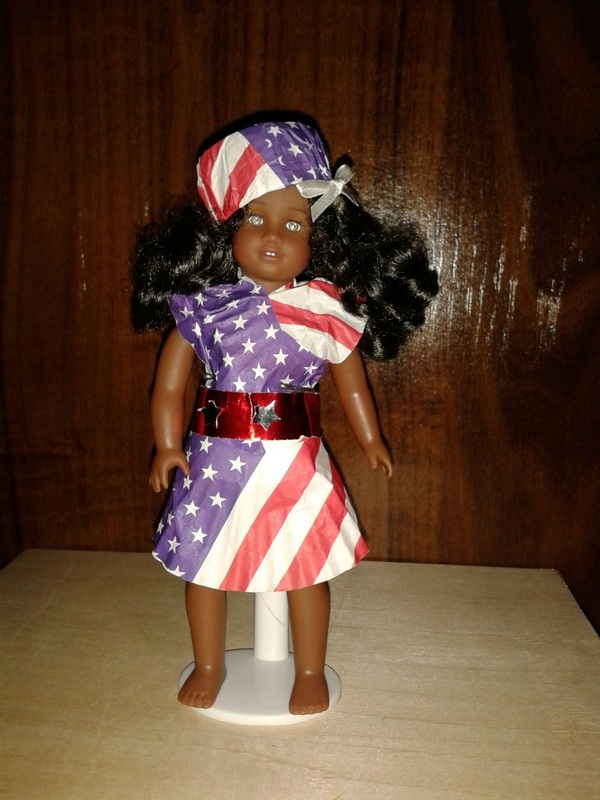
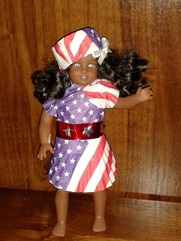
Cecile: Queen
Their outfits show several different ways to create inexpensive clothes for your minis. Here's how I made each one:
  • Marie-Grace is just wearing clothes from other toys. (The skirt is from a Cinderella Barbie, and the shirt is from a tiny stuffed animal from a local hospital. I just turned it so the logo was on the back.) For her hair I used a little piece of tulle to make a bow and secured it with a decorative brad. (It is a snowflake, but I thought it looked like a firework.) The sash is just a hair elastic.
  • Caroline is wearing a mini tutu I made from a clear hair elastic and some white tulle. I just moved the waist up to her neckline and poked her arms out between the pieces of tulle. Then I secured the waistline with a piece of ribbon. I stuck on a little self-adhesive jewel, but it didn't stay too well. The headband is a little piece of paper ribbon with a few foil star stickers.
  • Cecile is wearing an outfit crafted entirely from cupcake liners secured with tape. For the top, I cut out the bottom center circle of the wrapper and carefully crossed the resulting strip over her shoulders and down in front. The skirt is made from two cupcake liners flattened and folded in half. The sash is made from that same shiny paper ribbon with foil stars, taped in the back. The hat is made from piece of paper towel roll covered with another cupcake liner. 
Picture
The girls wave from their places on the Mini Miss Liberty Float. The stage doubles as the float with a miniature wooden sleigh covered with cupcake liners and foam stickers. I should have covered the holly leaf with a star or something. Oops!
0 Comments

Doll-ar Delights: Finds For The Fourth

7/1/2014

0 Comments

 
Picture
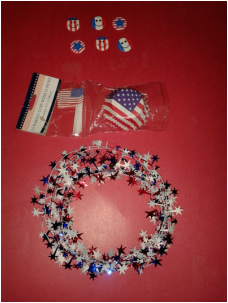
I have been having tons of fun this week with my recent dollar store finds. I love these little patriotic badges I found. They come in a pack of 10 and are just the right size for 18 inch dolls. The cupcake liners and picks came in a pack of 24 flags and 24 liners, so they really go a long way for your buck. The cupcake wrappers are great for banners or mini hats, and I even made an entire outfit for my mini Cecile. The star garland makes a great hair accessory, but you have to be careful not to get the wire tangled in your doll's hair. You could also cut different lengths to make a neclace or bracelet, or twist several small pieces together to create a doll sparkler. Most dollar stores also have mini flags that are a perfect fit for the full-sized dolls.
Picture
Picture
0 Comments

    Categories

    All
    18 Inch
    American Girl
    Ann Loren
    Books
    Boys
    Braille
    Clothing
    Decor
    Disabilities/ Special Needs
    DIY
    Doll Ar Delights
    Doll-ar Delights
    Doll-ar Delights
    Dolls
    Food
    Furniture
    Hair
    Historical
    Holidays
    Journey Girls
    Minis
    Patriotic
    Printables
    Repurpose
    Rescues/Transformations
    Reviews
    Sale
    Scenes And Settings
    School
    Thrift Store Finds
    Wigs
    Zulily

    RSS Feed

    Archives

    January 2017
    July 2016
    January 2016
    October 2015
    August 2015
    July 2015
    May 2015
    April 2015
    March 2015
    February 2015
    January 2015
    December 2014
    November 2014
    October 2014
    September 2014
    August 2014
    July 2014
    June 2014
    May 2014
    April 2014

Powered by Create your own unique website with customizable templates.