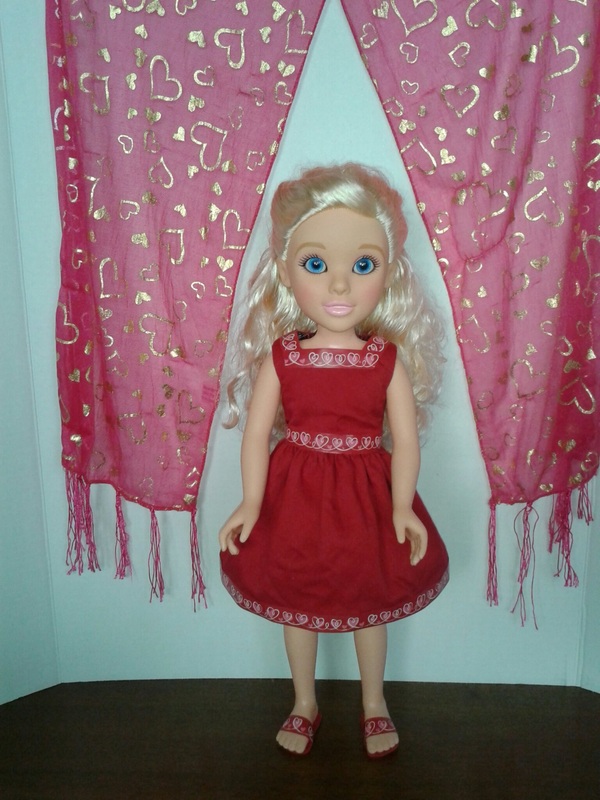
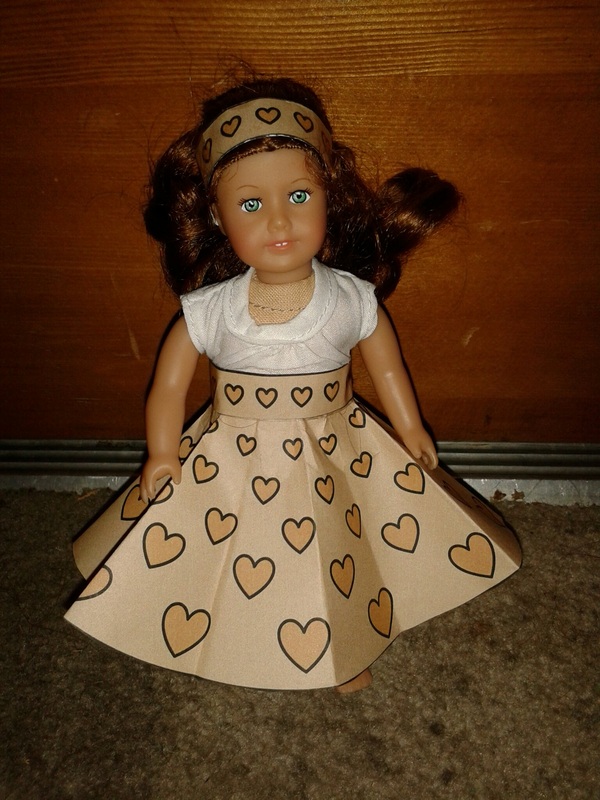
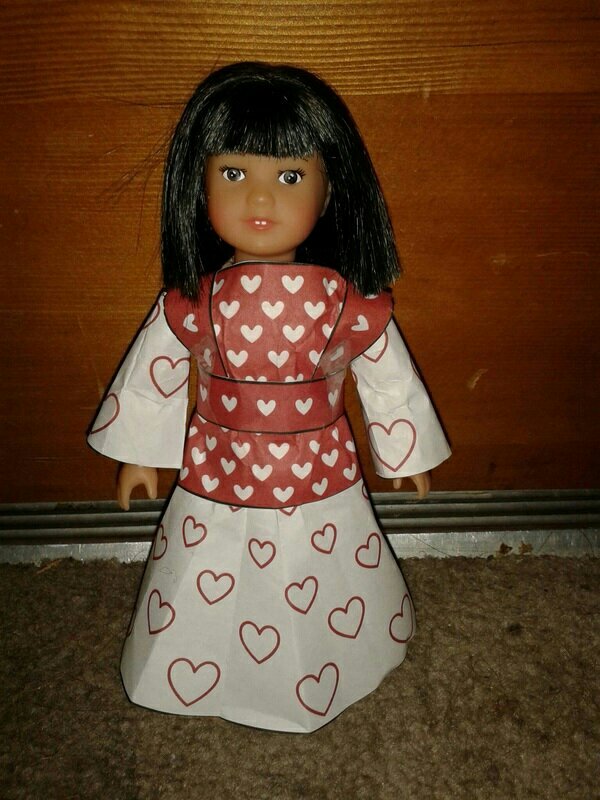
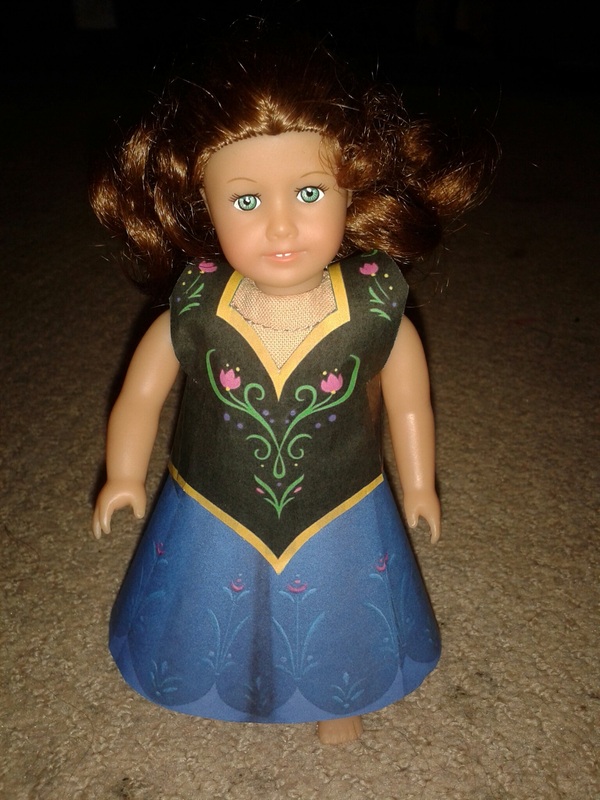
After looking at my sister's amazing Valentine's projects, I was feeling rather creatively deficient, so I decided to challenge myself to come up with a quick and easy Valentine's Day doll idea. All I used was a plain red dress, some decorative tape from the dollar store, and some scraps of craft foam. I just lined the collar and bottom of the dress with the tape and then made some simple matching sandals. Voila! it's a great temporary embellishment to turn an every day dress into something special. 
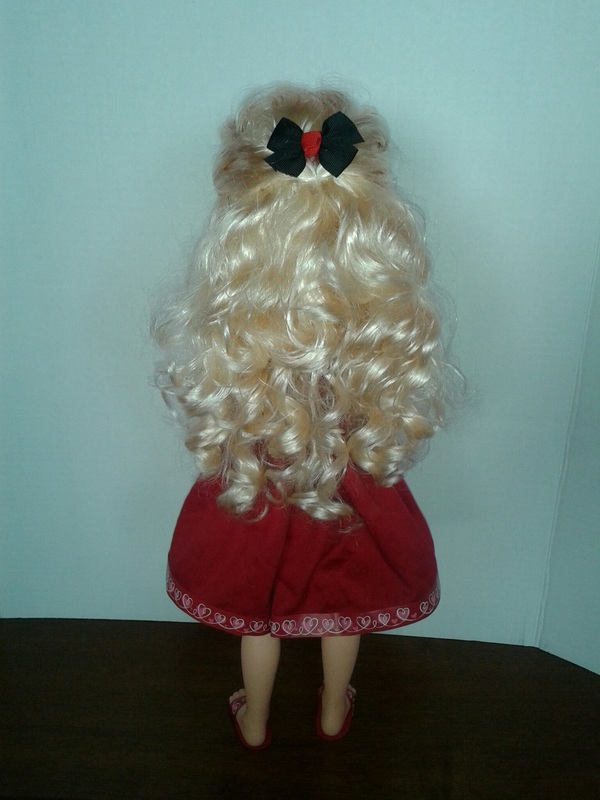
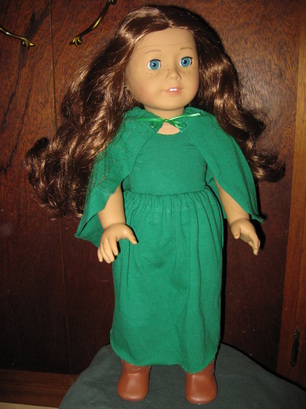
Here's a view of the back of the dress and her simple hair style. This doll is Cinderella from Disney Princess and Me. I think she looks adorable in this casual modern ensemble. 
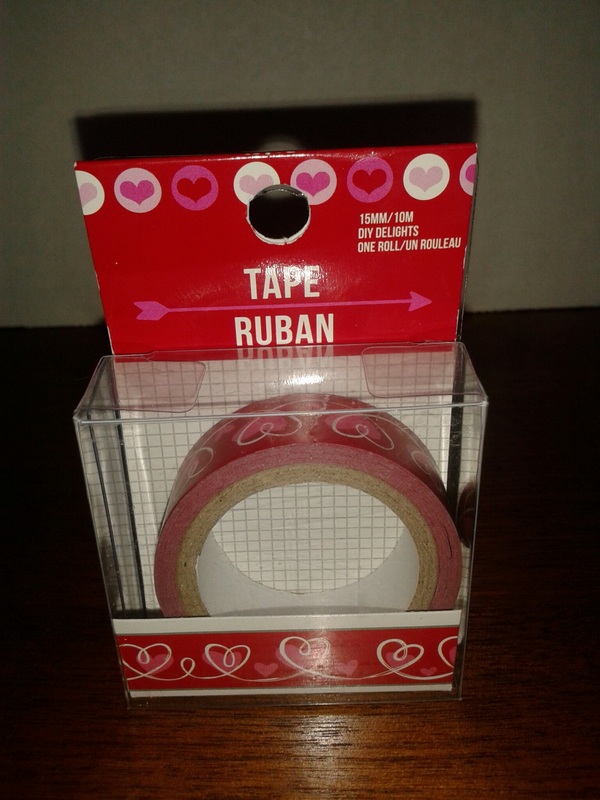
You can find lots of fun patterned tape just about anywhere and for any season. This plain red dress would work great for Christmas or Independence Day too, and the tape is easy to remove without leaving residue on fabric. Go see what you can create!
0 Comments
No French bakery would be complete without a fancy cake and some lovely macarons. This is a project we've be saving for a long time. The cake is a trinket box from this set my daughter got from her uncle a couple years ago.
Halloween is just around the corner, so I want to squeeze in some last minute Dolloween ideas for you. One of the easiest ways to create a quick costume (for dolls or people) is to put together an easy cape. Let's face it, we've been tying towels and blankets around our necks for ages. Here are some quick, easy (no sew!), and inexpensive cape ideas for your dollies: Photo Details:
The purple leotard and white leggings are from Walmart. The pink boots are from K-Mart and the white boots are from Springfield. The black super-hero outfit is made from a sock and a dollar-store tutu skirt. The gold headband is a piece of sequin elastic. Saige is getting ready to sleep over at her grandma Mimi's house for her birthday. She has her mini doll, her new backpack from Doll Diaries, and a new Saige book just her size! I scanned in images of of the front, spine, and back cover of my full-sized Saige book to make the pattern for the mini book. As a gift to you, I would like to share the template I made so you can make your own mini books. Just download the pictures, paste into a word doc at original size, and print on shiny photo paper. Use this pattern to make a softcover book. Just trim around the cover, cut pages to fit, stack, staple, and fold. Use this pattern for a hardcover book. Use a small notebook or an existing mini book. Cut out the cover, leaving enough space on each side to make a flap. Wrap the cover around your hard-back book and fold the flaps inward. Have fun making mini books for your dolls, and check out this post for another fun template. I had so much fun making the Beforever mini books that I thought I'd share the template I made so you all can make one too. All pictures are copyright American Girl and come from author Kathleen Ernst's Website. Please only use these files for personal, non-commercial use. If you want to share the templates, link back to this post. Click the links below to access and save the template files. Hardcover Book Jacket (for use with an existing mini book): PDF file, JPG file Paperback Cover (to make softcover copy with inner pages): PDF file, JPG file Tips:
I am always on the lookout for new clothing ideas for my mini dolls, so I was pleased to find the Printable Doll Clothes site. Elizabeth, a talented designer and doll collector, offers a variety of patterns to quickly clothe a variety of doll sizes. She also includes plenty of pictures, tutorials, and even videos to show you how to use the different pieces to create amazing outfits. I used the free dress pattern from the sample section and adapted it several different ways. For Felicity's dress I cut a wider inner circle from the circle skirt piece to widen the waist and make it a little shorter. I also cut a couple of slices out of the circle to remove the excess overlap. I used the waist band piece for the headband and the two straps taped together for the sash. I kept on her shift to use as the bodice. For Ivy's Asian-inspired dress, I used the extra pieces i cut from the skirt to make long sleeves. For Rebecca's simple shift dress, I only used the top pattern piece, leaving some white at the bottom to add length. Then I cut slits to make fringe. I cut the waist band in half to make extra strap pieces so I could use two on each side for sleeves. For a finishing touch, I cut a larger heart from the skirt piece to decorate the top. Elizabeth provides specific instructions for using her patterns to fit a variety of dolls. You can read the instructions for the AG Mini Dolls here, and 18 inch dolls here. Head on over to the Printable Doll Clothes site to check out the other outfit collections, which you can purchase in the PDC Etsy shop.
The Printable Doll Clothes site inspired me to make more paper doll clothes, so I decided to combine and adapt a few free printables to make this Anna costume for my mini Felicity. The bodice is an embroidery reference pattern by MomoKurumi at deviant art, and the skirt is from a Disney paper craft from the Disney Family website. I cut a slit up the back of the bodice piece and trimmed it down for a better fit. Then I taped the bodice together at the sides, placed it on the doll, and taped the back closed. I cut out the skirt piece and then trimmed it just below the tabs so it would fit around the doll's waist. Then I placed it on the doll and taped it together in the back. Here she is wearing Cecile's black boots and a little pink cleaning cloth for a cape. I couldn't do the signature braids because I want to maintain Felicity's original hairstyle, but I think she still looks cute.
Here is my completed bedroom for my boy doll, Emmett. The back-drop is just a presentation board from the dollar store. I covered it with wood-grain contact paper and decorative tape for a border. Let's take a look at some of the finishing touches. This trinket shelf is my favorite part of the room. I used the box from a wooden magnet
toy and affixed it to the wall with sturdy tape. It is strong enough to hold, but it can still be removed to change the look. The decorations include sports erasers, a Lego mini-fig, three ninja nesting dolls, a small car, some kind of springy bird toy (not sure where that came from), and a small transformer. I love doll pieces that are functional as well as decorative, so I wanted to make a dresser that can really be used for storage (but without the hassle of real drawers that pull out). This dresser has a flip-top that opens to store items inside the box. I also found a great tutorial from My Froggy Stuff for making a dresser with a hole in the back to stash stuff inside. I made the drawers look more 3-D by wrapping pieces of cardboard in contact paper rather than using flat scrapbook paper. Materials:
Instructions:
* For an easier variation (which I discovered after completing mine, of course) is to cover both ends of the box and glue the top down all the way, Then just cut a small hole in the back to access the inside of the box for storage. Doll beds can be so expensive, but with a little imagination, you can easily find things around the house to make your own. This wooden frame was used to hold glass canisters in my kitchen. It even has a built-in headboard and foot-board. For the mattress, I used a foam knee board for gardening (from the dollar store). Then I wrapped it in fabric and placed it on top of the frame. I folded a small flannel receiving blanket in half for the top. For the pillow, I used a cloth bag and a mini pillow from a doll pet set. I just put the pillow into the bag and then folded the end of the bag back into itself until it made a nice rectangle.
|
Categories
All
Archives
January 2017
|